
Ever found yourself daydreaming about a serene lavender field, the scent of the blooms filling the air? Ah, pure bliss! Well, what if I told you that this dream could be a reality in your own backyard? Yes, you heard it right! Today we’re talking about How to Grow and Care for Lavender ‘Hidcote’.
This isn’t just any lavender; it’s Hidcote – the crème de la crème of lavenders with its deep purple flowers and silver-green foliage. It’s like having a piece of Provence at home. So roll up your sleeves folks, let’s get our green thumbs working! Keep reading about How to Grow and Care for Lavender ‘Hidcote’.
Key Takeaways
- Lavender ‘Hidcote’ prefers full sun and well-drained soil.
- Plant in spring or early fall, spacing plants 15 to 18 inches apart.
- Water once or twice a week until established, then only when soil is dry.
- Prune lightly in early spring to encourage bushy growth and again after flowering to maintain shape.
- Protect from harsh winter weather with mulch or horticultural fleece.
- Avoid over-fertilizing; lavender prefers poor soils.
What is Lavender ‘Hidcote’?
Lavender ‘Hidcote’, a popular variant of the English lavender family, is a gardener’s delight. It’s known for its vibrant purple flowers and intoxicating scent. This Hidcote lavender plant, also known as Lavandula angustifolia ‘Hidcote’, has a rich history and myriad uses that make it stand out.
Origin and Characteristics
The origin of this beauty traces back to England. The origin of Hidcote lavender is linked to the famous Hidcote Manor Garden in Gloucestershire. Its unique characteristics include compact growth and deep violet-blue flowers, earning it the name Hidcote blue lavender.
The characteristics of Hidcote lavender extend beyond its stunning color. It’s highly fragrant, attracting bees and butterflies alike. Plus, it’s hardy nature makes it an excellent choice for borders or hedging in any garden.
Importance and Uses
Now let’s talk about why this little plant is so important. The importance of Hidcote lavender lies in its versatility. It’s not just a pretty face; it’s got some serious benefits too!
For starters, the uses of Hidcote lavender are plentiful in gardening. Its dense foliage provides excellent ground cover while adding a pop of color to your landscape. But wait, there’s more! This English gem isn’t just for looks.
It also plays a big role in aromatherapy due to its calming scent. So next time you’re feeling stressed, remember that aromatherapy with Hidcote lavender could be just what you need! Now that we’ve covered the basics on how to grow and care for Lavender ‘Hidcote’, let’s dive deeper into other aspects.
How to Plant Lavender ‘Hidcote’?
Alright, let’s dive into the nitty-gritty of how to plant lavender. Specifically, we’re talking about the stunningly beautiful Lavender ‘Hidcote’.
Choosing the Right Location
First things first, location is key! Your Lavender ‘Hidcote’ needs a spot that gets plenty of sunlight. We’re talking at least 6 hours a day. Now, you might be wondering why this is so important. Well, it’s because these beauties thrive in full sun and well-drained soil.
The ideal climate for lavender growth is Mediterranean-like conditions – think warm, sunny days and cool nights. So if your garden can mimic this environment, your lavender will thank you for it!
Preparing the Soil
Next up on our Lavender ‘Hidcote’ planting guide is soil preparation. This isn’t just any old dirt we’re dealing with here. Lavenders prefer alkaline soils with a pH level between 6.7 and 7.3.
To get your soil ready for planting, you’ll want to mix in some lime if your soil is too acidic. Also adding organic matter like compost can help improve drainage.
Remember folks, when it comes to lavenders – drainage is king! They absolutely hate having wet feet.
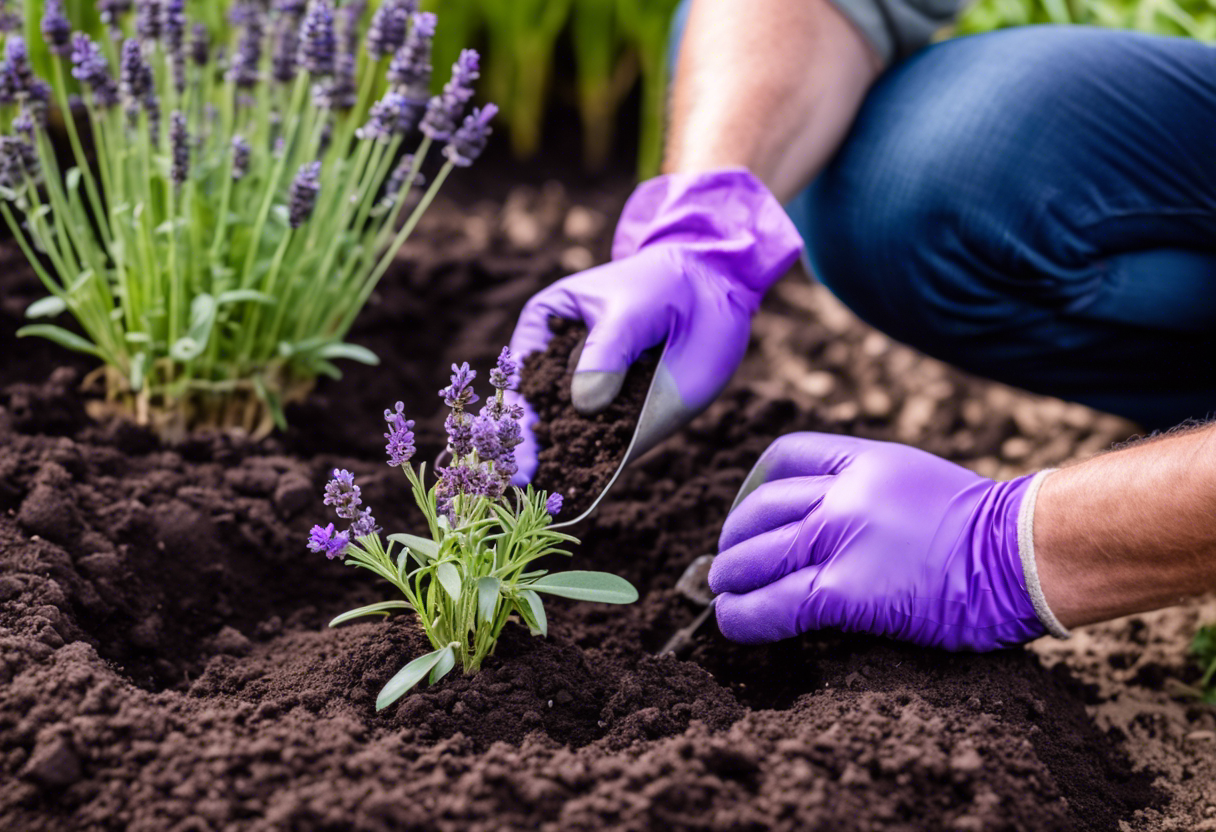
Planting Process
Now onto the main event – the actual planting process! Start by digging holes that are twice as wide and deep as the root ball of your lavender plant.
Place your plant in the hole and backfill with soil, making sure not to bury the crown of the plant (that’s where the stem meets the roots).
Once planted, give your new lavender a good drink of water but remember not to overdo it! Overwatering is one of the quickest ways to send your lavender to an early grave.
And there you have it, folks! That’s how to plant Lavender ‘Hidcote’. With a bit of luck and lots of love, your lavender should be thriving in no time!
How to Care for Lavender ‘Hidcote’?
Taking care of Lavender ‘Hidcote’ is a breeze if you know the basics. It’s all about proper watering, timely fertilizing, and regular pruning. Let’s dive into these essential aspects of Lavender ‘Hidcote’ care.
Watering Requirements
Watering is key to maintaining lavender plants. Lavender ‘Hidcote’ hydration needs are pretty straightforward. You see, this plant isn’t a big fan of soggy feet! So, water it sparingly and let the soil dry out between waterings.
The optimal watering schedule for lavender? Well, once or twice a week should do the trick during growing season. Remember, overwatering can lead to root rot, so keep it light!
Fertilizing Needs
When it comes to fertilizing lavender plants, less is more. Lavender ‘Hidcote’ isn’t too picky about its food. A slow-release granular fertilizer in spring should suffice.
What’s the best fertilizer for Lavender ‘Hidcote’? Look for something with a balanced N-P-K ratio (like 10-10-10). And remember – when in doubt, under-fertilize rather than overdo it!
Pruning Techniques
Pruning Lavender ‘Hidcote’ is like giving it a fresh haircut! It encourages new growth and keeps your plant looking neat and tidy. The best time to prune lavender? Right after flowering.
Pruning also helps maintain the plant’s shape and promotes better air circulation which prevents diseases. So grab those shears and give your lavender some TLC!
Common Problems with Lavender ‘Hidcote’ and Their Solutions
When it comes to How to Grow and Care for Lavender ‘Hidcote’, you might run into a few bumps. These could be diseases, pests, or even environmental challenges. But don’t worry, we’ve got solutions for these Lavender ‘Hidcote’ problems.
Disease Issues
First off, let’s talk about the common diseases in Lavender ‘Hidcote’. You might notice your lavender looking a bit off-color or wilting. This could be due to fungal diseases like root rot or leaf spot.
These are often caused by overwatering or poor drainage. To treat these lavender diseases, reduce watering and ensure good drainage. If the problem persists, consider using a fungicide.
Pest Problems
Next up are those pesky pests! Aphids, whiteflies, and spider mites are some of the common pests in Lavender ‘Hidcote’ that can cause damage to your plant.
Their impact on lavender includes yellowing leaves and stunted growth. For effective pest control in lavender, try using insecticidal soap or neem oil spray.
Environmental Challenges
Lastly, let’s not forget about environmental factors that can affect your lavender’s health. The right soil type is crucial for healthy growth – well-draining soil is best for lavender.
Light exposure is another factor; lavenders love full sun! And when it comes to climate conditions for lavender, they prefer cooler climates but can tolerate heat if watered properly.
So there you have it folks! With these tips in mind, you’ll be able to tackle any issues that come your way while growing Lavender ‘Hidcote’. Happy gardening!
How to Harvest and Store Lavender ‘Hidcote’
Harvesting and storing Lavender ‘Hidcote’ can be a bit tricky, but with the right know-how, you’ll have your lavender looking fresh as a daisy. Or should we say, fresh as lavender?
When and How to Harvest
The best time for harvesting Lavender ‘Hidcote’ is when the buds are just about to open. You see, that’s when they’re at their most aromatic. Now, how do you go about it? Well, grab some sharp shears and cut the stems above the woody part of the plant.
Don’t worry if you’re not sure where that is. Just look for where the soft green growth meets the harder brown stem – that’s your spot! Remember, preserving lavender freshness is all about timing and technique.
Methods of Storing
Once you’ve harvested your lavender, it’s time to think about storage. One popular method is air drying – simply tie up your lavender in small bundles and hang them upside down in a dry, dark place.
But what if you want to keep your lavender fresh for longer? Well then, freezing might be your best bet. Just pop those fragrant little buds into an airtight container or baggie and toss them in the freezer.
Remember though, no matter which method you choose, maintaining quality of stored lavender is key. So make sure to check on your stash every now and then to ensure it’s still smelling sweet!
To Wrap Up
We’ve taken a green-thumbed journey on How to Grow and Care for Lavender ‘Hidcote’, and what a fragrant ride it’s been! Just like nurturing a budding friendship, these purple beauties need your attention and love.
So, go ahead, roll up your sleeves. Let’s turn those thumbs green and fill the garden with a sea of lavender ‘Hidcote’. After all, who can resist that intoxicating aroma wafting through the summer breeze?