
Ever wondered why your Aloe Vera plant isn’t looking as luscious as it should? More often than not, the problem lies in how you’re Trimming Aloe Vera.
While these plants are known for their hardy nature, they still need a little TLC to thrive. And that’s where we come in!
Don’t worry if you’re a beginner or don’t have a green thumb. We’ve got your back! Keep reading about Trimming Aloe Vera and let’s make your plant happy again!
Key Takeaways
- Trimming aloe vera is as easy as pie.
- Always use a sharp, clean knife to avoid infecting the plant.
- Cut close to the base, but don’t damage the main stem.
- Only trim mature leaves (they’re the outermost ones).
- Don’t go crazy – only cut what you need. Aloe vera needs its leaves for photosynthesis!
- After cutting, let the leaf sit out for a few minutes to let ‘aloe latex’ drain out.
- Store cut leaves in a cool place and they’ll stay fresh for up to a week.

Understanding Aloe Vera Plant
Aloe Vera isn’t just a plant; it’s a mini-miracle worker. From growing Aloe Vera in sunny spots to reaping its benefits, understanding its needs is key. Proper Aloe Vera care involves regular watering, adequate sunlight, and yes, timely trimming. Whether you’re nurturing an indoor Aloe plant or a garden full of these succulents, knowing the ins and outs of Aloe Vera maintenance can turn you into a green thumb guru.
Importance of Trimming Aloe Vera
Trimming isn’t just about making your Aloe look pretty; it’s essential for its health too. By cutting back overgrown leaves, you’re not only tidying up the plant but also encouraging new growth. Think of it as giving your Aloe a pep talk to sprout fresh, vibrant leaves. This practice falls squarely under the umbrella of benefits of trimming Aloe Vera, ensuring your green buddy lives its best life.
But let’s not forget about aesthetics. An untrimmed Aloe can start to look more like a wild beast than a sleek, soothing succulent. Regular snips keep it looking neat and manageable, which is crucial if you’re aiming for that Instagram-worthy indoor jungle vibe.
On the health front, removing damaged or diseased leaves is like giving your plant a clean bill of health. It prevents potential spread of disease within the plant and across your garden. This aspect is vital for maintaining a healthy Aloe plant, as neglecting signs of distress could lead to bigger problems down the line.
Identifying When to Trim Aloe Vera
Knowing when to wield your scissors is crucial for effective Aloe Vera care. If your plant starts resembling an octopus with arms stretching in every direction, it’s time for a trim. Overgrowth can strain the base and roots, leading to an unhappy plant.
Damaged leaves are another red flag. Whether they’re browned, wilted, or showing signs of rot, these leaves are essentially sending out an SOS signal. Removing them helps prevent any issues from spreading further into the plant.
Lastly, if your Aloe starts showing signs of stress—like discoloration or stunted growth—it might be pleading for some attention. Stress can stem from various factors including improper watering or light exposure but trimming away troubled areas can give it a fresh start and potentially reverse minor issues before they escalate.
Tools Needed for Trimming Aloe Vera
Before you dive into trimming aloe vera, make sure you’re armed with the right gear. It’s not just about making the cut; it’s about making it safely and effectively. Selecting the right tools and ensuring they are clean and ready for action is crucial.
Selecting the Right Tools
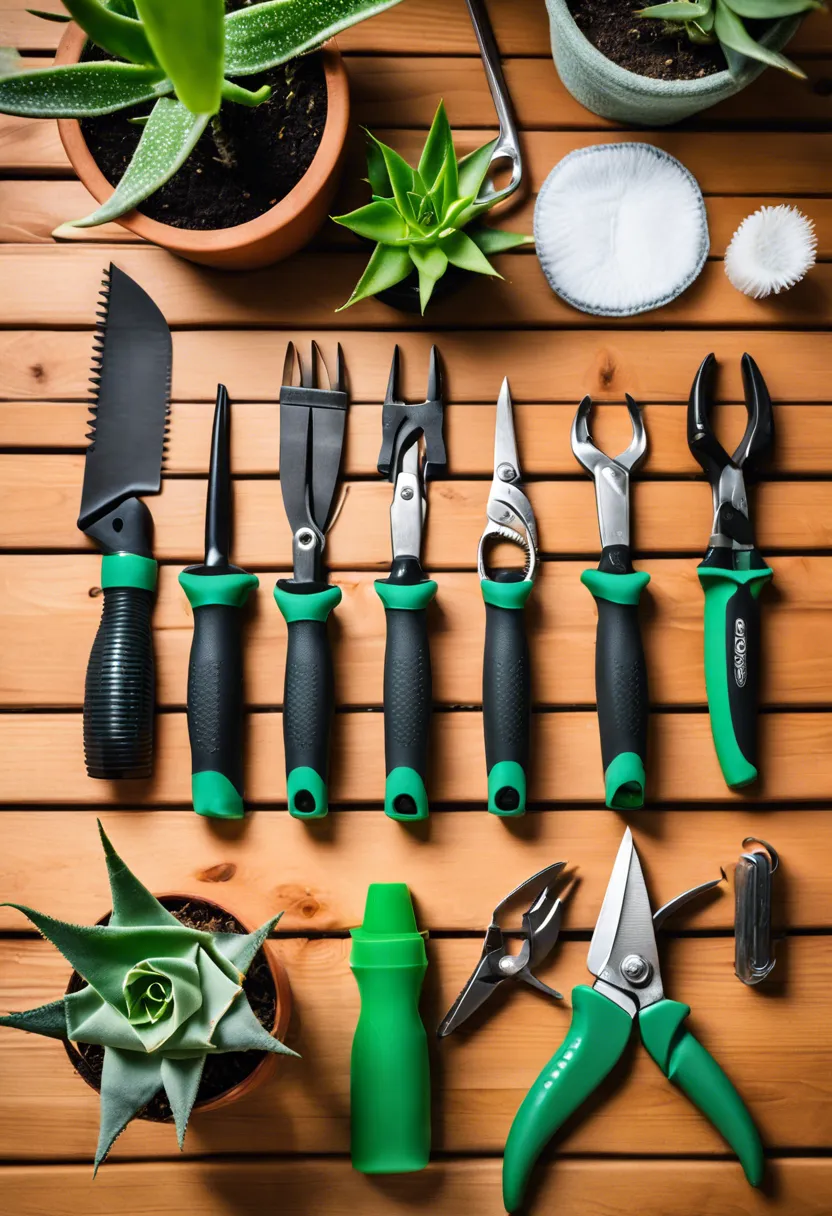
When it comes to trimming aloe vera, using the wrong tool can be like bringing a spoon to a knife fight – utterly ineffective and potentially damaging. The goal is to make clean cuts that heal quickly, preventing any harm to your green buddy. Best scissors for aloe vera or a sharp knife? That’s the question.
Scissors might be your go-to for precision, especially if they’re designed as gardening shears for succulents. They allow for more control and can get into tight spaces without disturbing other parts of the plant. On the flip side, knives offer a cleaner slice through thicker leaves but require a steady hand. Whether you choose scissors or knives, remember: sharpness is key. Dull tools can crush and damage the leaf tissues, leading to poor healing and potential disease entry points.
Preparing Your Tools for Use
Now that you’ve picked your weapon of choice, it’s time to get them battle-ready. Skipping this step is like inviting germs to a plant party – nobody wants that! First up, cleaning. Washing your tools with soapy water removes dirt and sap residue that could harbor bacteria or fungi.
Next comes sterilization – think of it as giving your tools a superpower against invisible enemies. Soaking them in rubbing alcohol or using a bleach solution (one part bleach to nine parts water) kills off any lingering pathogens eager to jump onto your plant. Rinse them well afterward with clean water to remove any chemical residues that could harm your aloe vera during trimming.
By selecting the right tools and preparing them properly, you set yourself up for successful trimming aloe vera, keeping both you and your plant happy and healthy.
Identifying Which Leaves to Trim
When it comes to giving your aloe vera plant a little haircut, you don’t want to just start snipping away like a mad hairstylist. Nope, there’s an art to choosing which leaves need to go. It’s all about keeping your plant healthy and happy, so let’s dive into how you can become an expert leaf picker.
-
Look for older leaves: These are usually the ones hanging out at the bottom of the plant, looking a bit more tired and worn than their upper companions. They’ve done their duty, and now it’s time for them to bow out gracefully.
-
Check for damage: Any leaves that have seen better days, sporting scars, discoloration, or other signs of distress should be on your trimming list. Think of it as removing the weak links so the rest of the plant can thrive.
-
Assess health: If a leaf is more brown than green and feels mushy or too dry, it’s not doing your plant any favors by sticking around. These are clear signs that it’s time for those leaves to go.
-
Consider size: Sometimes, if a leaf is just too big and is making your plant look unbalanced or is blocking light from smaller leaves, trimming it can help give your aloe vera better form and function.
By focusing on these criteria, you’ll ensure that only the leaves that are past their prime or detrimental to the plant’s health get trimmed away.
Proper Technique for Cutting Leaves
Now that you’ve played detective and identified which leaves need a trim, let’s talk about how to do the deed without turning it into an episode of “Plant CSI.” The goal here is clean cuts and minimal stress to your beloved green buddy.
-
Use sharp tools: A clean cut heals faster and reduces stress on the plant. Make sure your scissors or knife are as sharp as they come—think samurai sword sharp!
-
Cut at an angle: Aim for a 45-degree angle when cutting; this helps with healing and water run-off if you keep your aloe outside where it can rain.
-
Stay close but not too close: You want to cut near the base of the leaf but leave just a tiny bit of space from where it emerges from the main stem. This avoids damaging the central part of the plant while ensuring no stubby bits are left behind to rot.
-
Clean cuts only: No hacking back and forth like you’re sawing through tough steak—make one smooth motion per cut to avoid unnecessarily wounding your plant pal.
-
Sterilize between plants: If you’re giving haircuts to multiple aloes in one go, sterilize your cutting tool with rubbing alcohol between each plant to prevent spreading any potential diseases or pests.
Following these steps will make sure that not only does your aloe vera look good post-trim but also remains in tip-top health without any unnecessary trauma from its spa day.
Post-Trimming Care
After giving your aloe vera its beauty treatment, don’t just walk away thinking job well done! There’s still some tender loving care needed to ensure everything heals up nicely and keeps growing strong.
-
Let cuts heal: Give your plant some time off by placing it in indirect sunlight where its wounds can dry out properly over several days without getting sunburned or infected.
-
Water sparingly: Overwatering can spell disaster for freshly trimmed aloes since their open wounds might absorb too much moisture leading to rotting issues—wait until the soil is completely dry before watering again.
-
Avoid fertilizing immediately: Your instinct might be to feed your trimmed friend right away but hold off on fertilizing for at least a month while it recovers from its trim session.
-
Monitor closely: Keep an eye on those fresh cuts over the next few weeks; they should start scabbing over nicely without any signs of infection or decay setting in.
-
Adjust positioning if necessary: If after trimming you notice some parts of your plant aren’t getting enough light due to its new shape, feel free to gently reposition it so every part gets its moment in the sun (figuratively speaking).
By following these post-trimming care tips, you’ll ensure that not only does your aloe vera recover swiftly from its haircut but also continues thriving with vigor and vitality ready for whatever comes next!
Common Mistakes While Trimming Aloe Vera
Trimming an aloe vera plant might seem like a no-brainer, but it’s actually easy to mess up if you’re not careful. Just like you wouldn’t want someone inexperienced giving you a haircut, your aloe deserves the same consideration. Let’s go over some of the common blunders people make so your green buddy can keep thriving without any accidental setbacks.
-
Cutting too close to the base of the leaf
When you cut an aloe leaf too close to its base, you risk damaging the plant’s central growing point. This is like cutting into the quick when trimming nails – ouch and not good for future growth!
-
Using dull or dirty tools
Imagine trying to chop veggies with a blunt knife; it’s frustrating and messy. The same goes for using dull or dirty tools on your aloe. It can lead to jagged cuts that harm the plant and introduce bacteria, turning your trim session into an unexpected episode of “Plant ER.”
-
Removing too many leaves at once
It might be tempting to give your plant a drastic makeover, especially if it looks unruly. However, taking off too many leaves can stress out your aloe, making it weak and vulnerable. Think of it as going from long locks to a buzz cut in one sitting – quite shocking for anyone!
-
Ignoring diseased or damaged leaves
Sometimes, we might skip over leaves that look bad because we’re not sure what to do with them. Leaving these troubled leaves can spread disease or decay throughout your plant. It’s like ignoring a splinter; eventually, it’s going to cause more trouble than it’s worth.
-
Not considering the plant’s health before trimming
If your plant is already stressed from overwatering, underfeeding, or other issues, trimming might add extra stress. Always check if your plant is healthy enough for a haircut before going in with scissors. This is akin to running a marathon without training – both are bad ideas.
By avoiding these pitfalls, you’ll ensure that your aloe vera remains healthy and continues to grow beautifully without any unnecessary drama!

To Wrap Up
Well, that’s a wrap on Trimming Aloe Vera! In essence, it’s a simple process that can significantly boost your plant’s health. Remember, the key is to trim carefully and let the cut heal before using or replanting.
Don’t be shy about giving this a go – your Aloe Vera will thank you for it. Plus, you’ll have plenty of fresh gel for natural remedies or DIY skincare products.
Finally, remember that practice makes perfect. So grab those shears and start trimming! Happy gardening!