Ever found yourself in a panic, staring at your once vibrant and lively orchid now looking more like a prop from a horror movie? Yeah, been there, done that. Welcome to the club of How to Revive a Dying Orchid enthusiasts!
Moving on from the initial shock (and slight guilt), let’s roll up our sleeves and get down to some serious plant-saving business. Keep reading about How to Revive a Dying Orchid if you’re ready for this green-thumb journey!
Key Takeaways
- Identify the problem: Overwatering, under-watering, insufficient light, or temperature issues.
- Correct watering: Water thoroughly but infrequently, allowing the orchid to dry out between waterings.
- Provide adequate light: Orchids need bright but indirect sunlight.
- Maintain proper temperature: Most orchids prefer temperatures between 60 and 75 degrees Fahrenheit.
- Repot if necessary: Use a pot with drainage holes and special orchid mix.
- Be patient: Recovery can take several weeks to months.

Understanding Orchid Health
In the world of orchid care, understanding your plant’s health is key. It’s like being a plant doctor, diagnosing symptoms and figuring out treatments. We’re talking about orchid health indicators, folks! You’ve got to know the difference between healthy orchid characteristics and those pesky dying orchid symptoms. It’s all part of good orchid maintenance.
Identifying Signs of a Dying Orchid
So, how do you tell if your orchid is on its last leaf? Well, there are some clear dying orchid signs to look out for. If your once vibrant plant now resembles wilted lettuce, you’ve got yourself a case of wilted orchids.
But wait, there’s more! Keep an eye out for those leaves. If they’re turning yellow faster than a banana in the sun, it’s another sign. Yep, we’re talking about yellowing leaves in orchids here.
And let’s not forget growth patterns. If your orchid is growing slower than a snail on vacation or dropping flowers like they’re hot potatoes, it’s time to worry. These are classic signs of stunted growth in orchids and dropping flowers in orchids, respectively.
Common Reasons for Orchid Decline
Now that we know the signs, let’s talk causes. What turns a blooming beauty into a wilting wallflower? More often than not, it comes down to water and light – too much or too little can spell disaster.
Overzealous watering can drown your plant – yes, even plants need to breathe! On the flip side, underwatering can leave them parched and thirsty. So remember folks: neither overwatering nor underwatering is good for your precious overwatering orchids or underwatering orchids.
Next up, lighting. Orchids aren’t sun worshippers, and too much light can scorch them. But too little light can leave them in the dark, literally. So, getting the incorrect light for orchids is a common mistake.
And let’s not forget about soil quality and temperature stress. Poor soil can starve your plant of nutrients, while extreme temperatures can cause temperature stress in orchids. So keep an eye on that thermometer and treat your plant to some good quality soil!
Assessing Your Orchid’s Condition
The first step in figuring out how to revive a dying orchid is understanding its current state. This involves a thorough orchid health assessment, which means examining the leaves, checking the roots, and observing the blooms.
Examining the Leaves
When it comes to examining orchid leaves, you’re playing detective. Look for changes in color or texture that might suggest your plant is under stress.
Perhaps your orchid’s leaves have lost their luscious green hue? Or maybe they’ve become wrinkly or leathery to touch? These are all signs of unhealthy orchid leaves. On the flip side, healthy orchid leaf characteristics include firmness, a vibrant green color, and smooth texture.
Checking the Roots
Next up on our orchid condition check list is taking a peek at those roots. You see, roots can tell us a lot about an orchid’s water intake.
If you notice soggy or brown roots, it could be a sign of overwatering or root rot – both big no-nos in the world of orchids! In contrast, healthy orchid root characteristics include firmness and a white or green color. So keep an eye out for these when checking orchid roots!
Observing the Blooms
Finally, we come to observing those beautiful blooms – every orchid owner’s pride and joy! The state of an orchid’s flowers can give us valuable insights into its overall health.
Are your blooms wilting prematurely? Or perhaps they’ve lost their vibrant colors? These could be signs of distress. Remember: healthy blooms should last several weeks and boast bright, vivid colors. So next time you’re admiring your plant’s flowers, remember: you’re not just appreciating their beauty – you’re also conducting an important part of your orchid health assessment!
Necessary Tools and Materials for Revival
Reviving a dying orchid isn’t just about love and care. It’s also about using the right tools and materials. Having the correct orchid potting mix, suitable orchid containers, and proper orchid watering tools can make a world of difference in your orchid revival journey.
Choosing the Right Potting Mix
Choosing the right potting mix is like picking out an orchid’s favorite food. The wrong choice can lead to a sickly plant, while the right one can help it thrive. Look for a healthy orchid soil that drains well but retains enough moisture. Remember, reviving orchids with potting mix is all about balance!
Selecting Suitable Containers
The container you choose for your orchid is its home, so it needs to be comfy! A good container promotes healthy root development and allows for adequate drainage. So when it comes to orchid container selection, think breathable, think spacious!
Importance of Proper Watering Tools
Watering isn’t just about hydrating your plant; it’s also about how you do it. Using appropriate watering tools helps maintain an orchid’s health by ensuring they get just the right amount of water without drowning them. Whether you’re using a watering can or a spray bottle, remember: when caring for these plants, every drop counts!
Steps to Revive a Dying Orchid
So, you’ve got an orchid on the brink, huh? Don’t sweat it! How to Revive a Dying Orchid isn’t rocket science. It’s all about understanding the orchid revival steps and giving your plant some TLC.
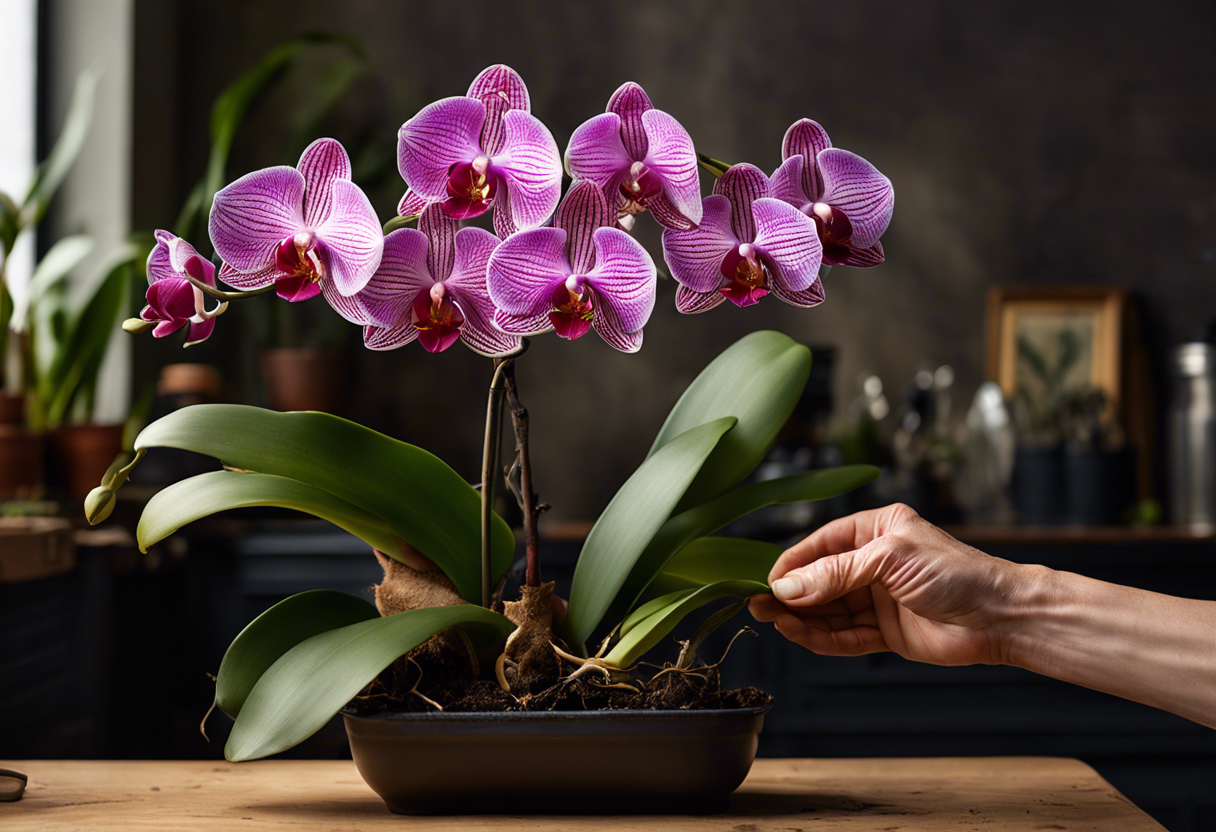
Repotting Your Orchid Correctly
First things first – repotting. You see, orchids are pretty picky about their living conditions. They’re like the Goldilocks of plants – everything has to be just right. So if your orchid is looking a bit under the weather, it might be time for a change of scenery.
The correct way to repot orchids involves getting rid of any old, soggy compost and replacing it with fresh stuff. And don’t forget about the pot! A proper pot for orchids should have plenty of drainage holes to prevent waterlogging.
Repotting can be a real game-changer for unhealthy orchids, helping them bounce back from the brink. Plus, it gives you a chance to check out what’s going on beneath the surface and nip any problems in the bud (pun intended!).
Providing Adequate Water and Humidity
Next up: water and humidity. These two factors play a big role in your orchid’s health. Too little or too much can spell disaster.
When it comes to watering your plant, less is often more. Overwatering is one of the most common causes of death for these beauties, so go easy on the H2O. The key is maintaining adequate humidity for orchids without turning their roots into a swamp.
Remember: these guys are tropical plants at heart, so they love a bit of moisture in the air. A humidifier or even just a tray of water nearby can do wonders for keeping your orchid happy and hydrated.
Ensuring Proper Light and Temperature
Last but not least, let’s talk about light and temperature. Orchids are a bit like Goldilocks when it comes to these two factors as well – they don’t want too much or too little, but just the right amount.
Getting the optimal light for healthy orchids can be a bit of a balancing act. Too much direct sunlight can scorch their delicate leaves, while too little can leave them looking pale and sickly. Aim for bright, indirect light for most of the day.
Temperature-wise, keep in mind that orchids aren’t fans of extreme heat or cold. They prefer things on the cooler side at night and warmer during the day. So if you’ve got your orchid next to a drafty window or blasting heater, it might be time for a move.
Caring for Your Revived Orchid
After learning how to revive a dying orchid, it’s crucial to keep up with proper orchid care. Your revived beauty needs regular maintenance and preventive measures to avoid future health issues.
Regular Maintenance Tips
Keeping your revived orchid in tip-top shape isn’t rocket science, but it does require some effort. Start by establishing an orchid watering schedule that suits your plant’s needs. Overwatering can be as harmful as underwatering, so strike a balance.
Next, consider the light conditions. Orchids love light, but too much direct sunlight can scorch them. Find the optimal orchid light conditions for your specific variety.
Feeding is another essential aspect of maintaining healthy orchids. Use a high-quality orchid fertilizer to provide necessary nutrients.
Lastly, don’t forget about repotting! If you notice your orchid outgrowing its pot or the growing medium breaking down, it’s time for repotting a revived orchid.
Preventing Future Health Issues
Orchids are pretty resilient, but they’re not immune to diseases and pests. Being proactive about orchid disease prevention can save you from many headaches down the line.
Root rot is a common issue among overwatered orchids. To avoid this, ensure good drainage and avoid letting your orchid sit in water.
Pest infestations can also wreak havoc on your plant’s health. Regularly inspect your plant for any signs of pests and treat immediately if found.
Keep an eye out for any changes in leaf color or growth patterns – these could be signs of unhealthy orchids. Early detection is key in keeping your plant healthy!
Remember folks, caring for an orchid doesn’t end after revival; it’s a continuous process of nurturing and love!

To Wrap Up
So, we’ve journeyed through the orchid ICU, learning the ins and outs of how to breathe life back into your wilting green buddy. It’s like doing CPR on a goldfish – tricky but not impossible!
And remember, when in doubt, head back to our guide on How to Revive a Dying Orchid, because everyone deserves a second chance at life – even orchids!