Did you know that over 30 million American households grow houseplants? Among those, the aloe plant is one of the most popular. It’s not just because of its unique and appealing appearance, but also for its medicinal properties. Yet, keeping an aloe plant alive indoors can be quite a challenge if you’re not aware of its specific needs.
Aloe plants are native to Africa’s arid regions. They thrive in conditions that many other plants would find intolerable. But when we bring them into our homes, we often forget these natural habitats and unknowingly subject them to unsuitable conditions. This can lead to a range of issues from drooping leaves to root rot.
So how do you Keep Your Aloe Plant Alive Indoors? Understanding and replicating their natural environment as much as possible is key. Keep reading as we delve into the seven crucial factors that will help your indoor aloe plant not just survive, but thrive.
Quick Answer
- Lighting: Aloe plants need bright, indirect light. Too much direct sunlight can burn the leaves.
- Watering: Water your aloe plant deeply but infrequently. The soil should be completely dry before you water again.
- Soil: Use a well-draining cactus or succulent mix. A DIY mix of sand, perlite and potting soil works too.
- Repotting: Repot your aloe plant every 2-3 years or when it outgrows its pot. Be gentle with the roots during this process.
- Temperature and Humidity: Keep your aloe in temperatures between 55 and 80°F (13–27°C). It doesn’t need high humidity.
- Pests and Diseases: Watch out for common pests like aphids, mealybugs, scale insects, and diseases like root rot.

What Are the Ideal Lighting Conditions for an Indoor Aloe Plant?
Aloe plants love the sun, just not too much of it indoors.
Understanding Light Requirements
Aloe vera plants are like that friend who loves the sun but always wears sunscreen. They need lots of light but not direct sunlight all day. Think of indoor aloe plant care as finding a sweet spot. Your aloe wants about 6 to 8 hours of sunlight daily. But here’s the kicker: it prefers bright, indirect light. Direct sunlight can make its leaves turn brown and crispy, which is a big no-no.
So, what’s the best light for an indoor aloe? East or west-facing windows are your best bets. These spots offer plenty of light without the harsh midday sun that comes through south-facing windows. Remember, aloe vera sunlight needs aren’t too complicated. It’s all about balance.
If you’re stuck with north-facing windows or your place doesn’t get much natural light, don’t sweat it. Artificial grow lights can work wonders for indoor aloe vera light conditions. Just make sure to keep them on for about 8 hours a day to mimic natural daylight.
Tips for Maximizing Natural Light Exposure
Getting enough sunshine for your indoor plants might seem tricky, but it’s doable with some clever tricks. First off, placing your aloe near a window that gets lots of light is key. But not just any window—pick one that gets bright but indirect sunlight most of the day.
Now, if you’re thinking, “But my place is kind of dark,” here’s a neat trick: use mirrors! Placing mirrors behind or around your plant can bounce some extra light its way. It’s like giving your plant its own personal spotlight without moving it outdoors.
Another tip is rotating your plant every now and then. This helps ensure every part gets its time in the limelight (pun intended). Just give it a little twirl when you water it so each side gets an even tan.
And don’t forget about cleaning those windows! Dusty windows can block precious sunlight from reaching your indoor plants. So grab that cloth and give them a good wipe down regularly to maximize natural light exposure.
How Often Should You Water an Indoor Aloe Plant?
Keeping your indoor aloe plant happy means not drowning it in love. Think of watering like a treat, not a daily meal.
Signs of Overwatering and Underwatering
Overwatered aloes are drama queens. They get mushy leaves that yell, “Too much!” If the leaves look thinner than your skinny jeans, that’s underwatering shouting for a drink. Both are the plant’s SOS.
Underwatered aloes go crispy and brown, like they’ve been sunbathing too long without sunscreen. Overwatered ones might get yellow and drop leaves as if they’re throwing a tantrum.
The trick is noticing when your aloe starts looking sad before it throws a full-blown fit. Soft, squishy bases or dry, wrinkled leaves are early cries for help.
Best Practices for Watering Schedule
Aloes enjoy a good soak but then want time to dry out. Imagine giving them a spa day followed by some alone time. That’s your aloe plant watering schedule.
Summer screams for more water; think every three weeks or so. Winter is more chill, so once every month should do the trick. Your home’s vibe affects this too—hot and sunny spots make thirstier aloes.
Small pots dry out faster than big ones, kind of like how small cups of coffee cool quicker. Check the soil—a dry top inch means it’s spa day again.
Remember, aloes are desert divas. They love basking in the sun with their feet dry between drinks. Keep that in mind, and you’ll be on track to keeping your green buddy thriving indoors.
What Type of Soil Is Best for Aloe Plants?
Choosing the right soil for your aloe plant is like picking the perfect mattress for a good night’s sleep. It’s super important!
Characteristics of the Ideal Aloe Soil Mix
When it comes to aloe vera soil requirements, think of Goldilocks. Not too hard, not too soft, but just right. The ideal mix drains water fast but still keeps nutrients close by for the plant to grab. This means you want soil that’s light and chunky, kind of like the topping on a crumble dessert.
The texture should be gritty because aloe plants don’t like wet feet. Imagine wearing wet socks all day; your aloe feels the same about soggy soil! So, adding things like perlite or pumice makes the soil airy and prevents water from hanging around too long.
Now, let’s talk about the pH for aloe plants. These green buddies prefer their home to be slightly on the acidic side, around 6.0 to 8.5 on the pH scale. It’s like their comfort zone where they can soak up all the good stuff from the soil.
Lastly, aloes aren’t greedy when it comes to food, but they do need some nutrient-rich soil to thrive indoors. Mixing in a bit of compost or worm castings can give them that gentle boost of nutrients without overdoing it.
DIY Soil Mix Recipe for Aloe Plants
Making your own homemade succulent soil mix isn’t rocket science; it’s more like baking a simple cake! You’ll need three main ingredients: potting soil, coarse sand (or perlite), and pumice (or fine gravel).
Start with 2 parts of potting soil as your base; this is like your cake mix. Then add 1 part coarse sand or perlite; think of this as your baking powder that makes everything light and airy. Finally, throw in 1 part pumice or fine gravel for that extra crunchiness which ensures good drainage.
Mix all these together in a big bucket or bowl until everything looks evenly distributed. You want each scoop of your DIY potting mix for aloes to have a bit of everything – no clumps or patches!
Remember, while making your own aloe plant soil, wear gloves if you don’t want dirt under your nails and maybe do this outside if you don’t fancy cleaning up indoor messes.
And there you have it! Your very own tailor-made suit (or rather, soil) fit perfectly for your indoor aloe plant’s needs.
7 Steps to Repot Your Aloe Plant
Repotting your aloe plant is like giving it a new lease on life. It’s not just about changing homes; it’s about refreshing its environment for better growth.
Step 1: Choose the Right Time
The best time to repot aloe is during the spring or early summer. This period gives your plant a chance to settle in before the active growing season kicks in. Timing is crucial because repotting can be stressful for plants, and doing it when they’re ready to grow minimizes potential harm. During these seasons, your aloe has the best shot at recovering and thriving after the move.
Step 2: Select an Appropriate Pot
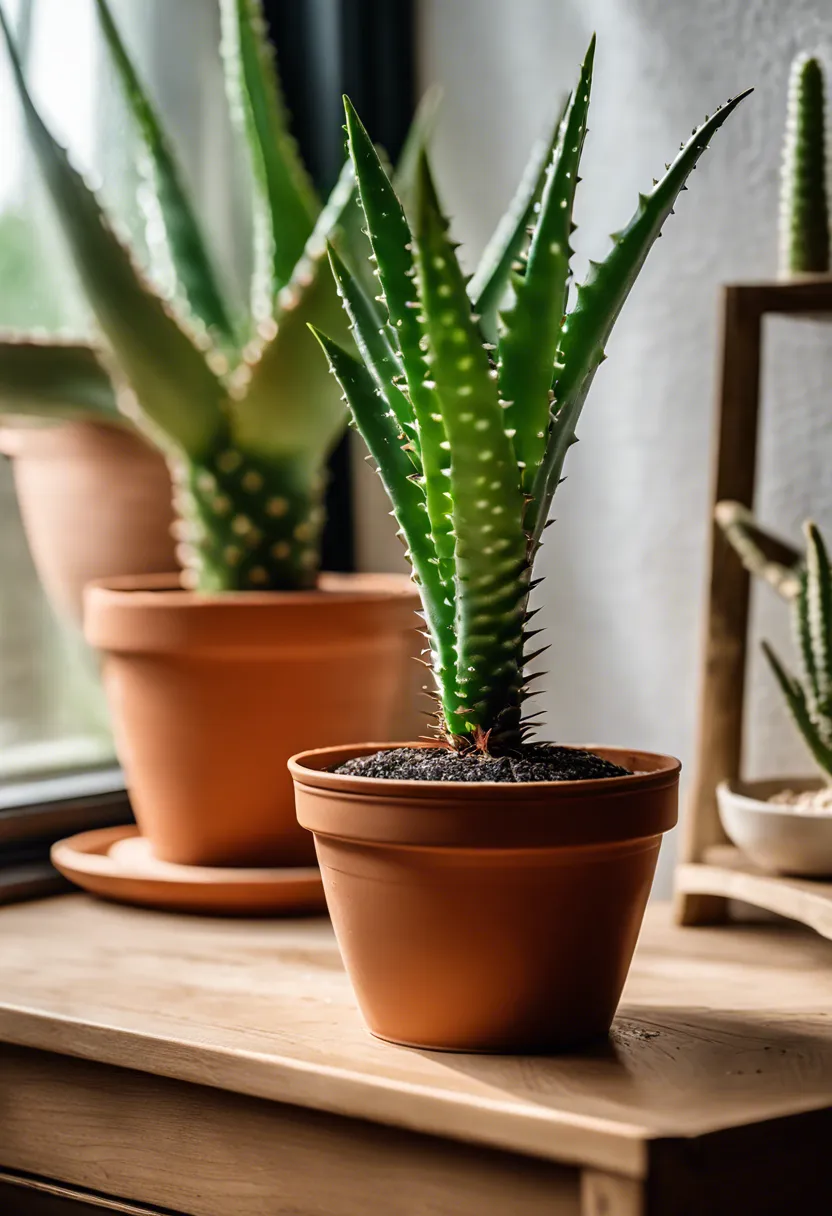
When picking a new home for your aloe, size matters. The pot should be slightly larger than the current one but not too big; think about an inch or two more in diameter. This space allows for growth without overwhelming your plant. Material-wise, ceramic pots are great because they breathe better than plastic ones, helping prevent water from sitting around and causing root rot. Plus, ensure there’s good drainage in pots; those holes at the bottom are lifesavers for preventing overwatering mishaps.
Step 3: Prepare the New Pot
Before moving day, get your pot ready. Start by giving it a good clean; this helps remove any nasties that could trouble your plant later on. Then, focus on soil preparation for Aloe Vera. Mix some perlite into standard potting soil to make sure it drains well and doesn’t hold onto moisture too long.
Step 4: Remove the Plant Carefully
Gently coaxing your aloe out of its current pot is key. Tilt the pot sideways and tap its bottom to encourage the plant to slide out without yanking it forcefully – think of it as persuading rather than pulling. Handling Aloe Vera roots with care prevents damage that could stress or shock your plant during this transition phase.
Step 5: Examine and Trim the Roots
Once out, take a moment to inspect the roots closely for any signs of disease or damage – brown or mushy spots are red flags. Using clean scissors, trim away any unhealthy parts gently; this step is like giving your plant a health check-up before moving into its new home.
Step 6: Repot
Now for the main event – repotting! Place some fresh soil at the bottom of your new pot and position your aloe so it sits at the same depth as before – no deeper or shallower. Fill in around it with more soil but don’t pack it down too hard; you want those roots to breathe and spread easily.
Step 7: Post-Repotting Care
After repotting, hold off on watering for about a week to let any damaged roots heal – think of this as letting a cut scab over before getting it wet again. When you do water, do so lightly until you see new growth indicating that your plant has settled in nicely. As for sunlight, keep your freshly potted friend in bright but indirect light while it adjusts to its new digs.
How to Maintain Optimal Humidity and Temperature?
Maintaining the right humidity and temperature for your aloe plant is like finding the sweet spot on your pillow. It’s crucial for a good night’s sleep, or in this case, for your plant’s happiness and growth.
Ideal Temperature Range for Aloe Growth
Aloe plants are like Goldilocks; they don’t like it too hot or too cold. The perfect temperature range for these green buddies is between 55°F and 80°F. When temperatures dip below 50°F, aloe plants start to feel chilly and could get damaged. On the flip side, if it gets too hot, they might get sunburned even indoors! Imagine getting a sunburn without going to the beach – that’s how your aloe feels in extreme heat.
Keeping your plant in a spot where the temperature stays just right will make it thrive. If you’re blasting the AC in summer or cranking up the heat in winter, remember your leafy friend might not be as comfy as you are. So, watch out for signs of discomfort like wilting or brown spots.
Humidity Control Techniques
Now let’s talk about humidity. Aloe plants aren’t big fans of high humidity; they prefer it on the drier side. If the air in your home feels more like a tropical rainforest than a desert oasis, you might need to help your plant out.
One simple trick is to place your aloe in an area with good air circulation; think near an open window or by a fan (but not directly in front of it). This helps keep moisture levels in check so your plant doesn’t get too soggy.
If you’re dealing with dry air, especially during winter when heaters can zap all the moisture away, consider using a small humidifier nearby but not directly pointing at your plant. Just enough to give it that slight desert vibe.
Remember, keeping an eye on both temperature and humidity around your aloe plant can make all the difference between having a thriving green buddy or one that looks like it needs a spa day.
Common Pests and Diseases Affecting Indoor Aloe Plants
Aloe plants are pretty tough, but they’re not invincible. When you bring them indoors, they can run into some trouble with pests and diseases that love the cozy indoor conditions just as much as we do. Let’s break down the usual suspects so you can keep your green buddy happy and healthy.
-
Spider mites: These tiny critters are like vampires for your aloe plant, sucking the life out of it one sip at a time. They’re super small, so you might need a magnifying glass to spot them. But if your plant looks dusty or has tiny webs, it’s time to play detective.
-
Mealybugs: Imagine tiny white cotton balls that move – that’s mealybugs for you. They stick to the nooks and crannies of your aloe plant, feasting on its sap. If left unchecked, they’ll turn your vibrant green aloe into a sad, droopy mess.
-
Scale insects: These pests are sneaky; they look like little bumps on your plant’s leaves and stems. They latch on and suck the sap out of your aloe, weakening it over time. If your plant starts looking sickly and its growth slows down, scales might be the culprits.
-
Root rot: This is less about bugs and more about too much love – or rather, too much water. Aloe plants don’t like wet feet! If the soil doesn’t drain well or you’re overwatering, root rot can set in. You’ll know it’s happening if the leaves start getting mushy and brown at the base.
-
Fungal infections: Sometimes fungi decide your aloe is the perfect place to crash. This usually happens when there’s too much moisture around (think misting gone overboard or poor air circulation). Fungal spots look like little brown or black patches on the leaves.
Remember, catching these issues early makes all the difference! Regular check-ups on your aloe can help prevent these pests and diseases from turning into big problems.

Troubleshooting Common Issues with Indoor Aloe Plants
| Issue | Symptoms | Causes | Solutions |
|---|---|---|---|
| Overwatering | Yellowing leaves, soggy stem, root rot. | Too much water, poor drainage. | Reduce watering frequency, improve drainage. |
| Underwatering | Wrinkled or shriveled leaves. | Not enough water. | Increase watering frequency but ensure soil dries out between watering. |
| Insufficient Light | Pale color, elongated stems and small leaves. | Lack of sunlight. | Move plant to a brighter location but avoid direct sunlight which can scorch the leaves. |
| Too Much Light | Brown spots on the leaves, dry leaf tips. | Direct sunlight for prolonged periods. | Move plant to an area with indirect sunlight or provide shade during peak sun hours. |
| Incorrect Soil Type | Poor growth, yellowing leaves, root rot. | Soil that doesn’t drain well or lacks nutrients. | Use a well-draining cactus or succulent mix and consider adding compost for nutrients. |
| Temperature Stress | Browning or wilting leaves in high temperatures; blackened, mushy leaves in low temperatures. | Exposure to extreme temperatures. | Keep plant in a room with stable temperature between 55-80°F (13-27°C). |
| Pests Infestation | Visible pests like mealybugs or scale insects; damaged or discolored foliage. | Presence of pests feeding on the plant. | Use insecticidal soap or neem oil; isolate infected plant from others to prevent spread of pests. |