Did you know that the vibrant colors of hydrangeas are not a result of the flower’s genetic makeup, but rather the type of soil they grow in? Yes, it’s true! The Soil for Hydrangeas plays a significant role in determining their color.
Hydrangeas aren’t just about pretty flowers. They’re also about science, specifically chemistry. The pH level of the soil can turn your hydrangeas blue or pink, while neutral soil will give them a purple hue.
So if you’re looking to plant these beautiful blooms in your garden, understanding what type of soil is best for hydrangeas is essential. Keep reading about Soil for Hydrangeas!
Quick Answer
- Hydrangeas thrive best in well-draining soil that’s rich in organic matter.
- The soil pH plays a crucial role in the color of hydrangea flowers. Acidic soil (pH below 7) produces blue flowers, while alkaline soil (pH above 7) gives pink blooms.
- To modify existing soil, adjust its pH level, enhance its drainage, and enrich it with organic matter.
- Different hydrangea varieties may prefer slightly different soil types, so it’s essential to know your specific variety’s needs.
- Avoid common mistakes like overwatering or choosing a poorly draining soil for your hydrangeas.

What Types of Soil Are Best for Hydrangeas?
Hydrangeas love soil that’s like a cozy bed: soft, rich, and just right. It’s all about finding the best soil for hydrangeas to make them happy.
Characteristics of Ideal Soil for Hydrangeas
The perfect spot for these beauties? Think loamy soils and hydrangeas; they’re a match made in garden heaven. Loam is like the goldilocks of soils—not too sandy, not too clayey. It holds moisture but drains well so the roots don’t get waterlogged.
Now, add in some nutrients. Hydrangeas are pretty hungry plants. They thrive in nutrient-rich soils for hydrangeas, gobbling up all the good stuff to bloom big and beautiful. A sprinkle of compost can do wonders here.
But wait, there’s more! The texture is key. You want it crumbly—think chocolate cake fresh out of the oven. This makes roots spread out comfortably, soaking up water and nutrients.
Lastly, let’s talk about breathing room. Roots need air to stay healthy. So, if your soil is compacted tighter than a packed subway at rush hour, it’s time to loosen up.
Importance of Soil pH for Hydrangea Color
Here’s where magic happens! The color show depends on the soil pH and hydrangea color dance. Want blue blooms? Aim for acidic soil (pH below 6). This unlocks aluminum in the soil, turning flowers blue as a summer sky.
Dreaming of pink petals? Go alkaline (pH above 7). It’s like flipping a switch; no aluminum means no blue dye job for your flowers.
It’s not an overnight thing though—changing pH takes patience and testing. But imagine tweaking your garden soil like mixing paint colors until you get that perfect shade!
Organic Content and Drainage Needs
Organic matter is like a spa treatment for hydrangeas—it rejuvenates and revitalizes them. Mixing in compost isn’t just good; it’s essential for healthier hydrangeas. It boosts nutrient levels and improves soil structure, making roots happy campers.
Drainage is equally crucial—hydrangeas dislike wet feet as much as we do stepping into a puddle with socks on! Ensuring proper drainage means your plants won’t sit in soggy conditions which can lead to root rot.
So how do you achieve this balance? Think about adding organic matter annually and creating raised beds if you’re dealing with heavy clay soil.
How to Modify Existing Soil for Optimal Hydrangea Growth
Modifying soil for hydrangeas isn’t just helpful; it’s a game-changer. It’s about making the ground a perfect home for these beauties.
Adjusting Soil pH
Hydrangeas are like Goldilocks, not too happy if the soil is too this or that. They need it just right. Adjusting soil pH is crucial because it decides their color and health. For blue flowers, you want acidic soil, and for pink, something more alkaline.
First off, test your soil with a kit from your local garden shop. If you’re aiming for blue hydrangeas and your soil is too alkaline, adding sulfur can help lower the pH. On the flip side, if you want pink hydrangeas and have acidic soil, throwing in some lime will raise the pH level.
Remember, changing the pH isn’t an overnight thing. It takes patience and retesting to get it spot-on. Also, keep in mind that different parts of your garden might have slightly different pH levels.
Enhancing Soil Drainage
Hydrangeas hate having wet feet. Poor drainage can lead to root rot, which is pretty much a death sentence for them. Enhancing soil drainage ensures they get just enough water without drowning.
If you’re dealing with heavy clay soil that holds water like a sponge, consider mixing in some sand or gravel to help water flow through more easily. Another trick is creating raised beds or planting on mounds. This way, water naturally runs off and doesn’t pool around the roots.
Adding organic matter can also improve drainage while keeping the soil moist enough for hydrangeas to thrive. It’s all about balance – keeping things moist but not soggy.
Enriching Soil with Organic Matter
Think of organic matter as a superfood smoothie for your hydrangeas. Enriching soil with organic matter boosts their growth by improving nutrient content and moisture retention.
Compost is king when it comes to organic matter. Mixing compost into your planting holes gives hydrangeas a hearty welcome meal that encourages strong roots and vibrant blooms.
Leaf mold or well-rotted manure are also fantastic options. They not only feed your plants but also keep the soil light and airy, promoting healthy root development.
Regularly adding organic matter helps maintain fertile, living soil that supports optimal hydrangea growth year after year. So don’t skimp on this step!
Comparing Soils: Which Is Best for Different Hydrangea Varieties?
| Hydrangea Variety | Preferred Soil Type | Soil pH | Additional Notes |
|---|---|---|---|
| Bigleaf | Well-drained, rich | 5.5-6.5 | Most common type |
| Panicle | Loamy | 6.0-7.0 | Can tolerate dry conditions |
| Smooth | Moist, well-drained | 6.0-7.0 | Native to the US |
| Oakleaf | Well-drained | 5.5-7.0 | Prefers partial shade |
| Climbing | Rich, porous | 6.0-7.0 | Needs support to grow vertically |
| Mountain | Well-drained, rich | 5.5-6.5 | Similar to Bigleaf but more cold-hardy |
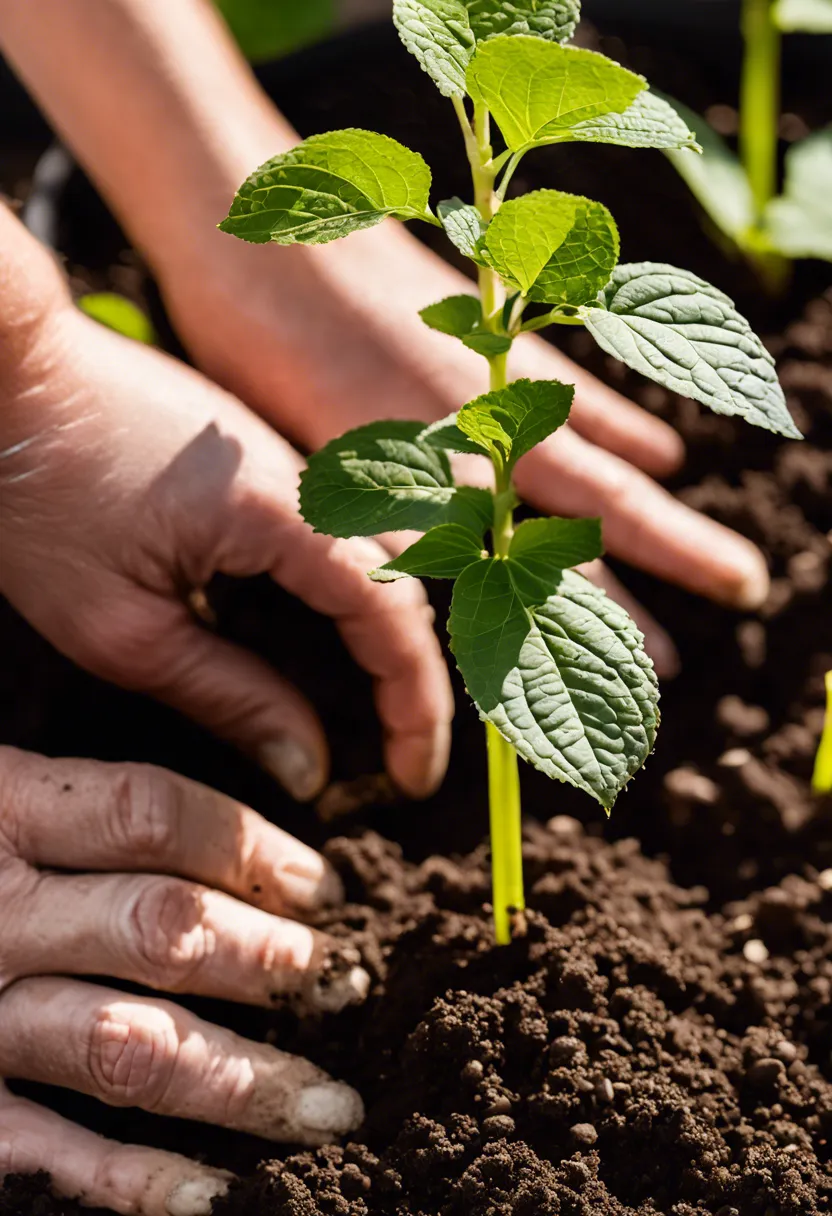
Step by Step Guide to Preparing Your Garden for Planting Hydrangeas
Getting your garden ready for hydrangeas isn’t rocket science, but it does need a bit of elbow grease and know-how. Let’s break it down into simple steps so you can get those blooms popping in no time!
-
Choose the right spot: Hydrangeas love the morning sun and afternoon shade. Find a spot that gets at least 4 hours of sunlight but isn’t baking in the hot afternoon rays. This will keep them happy and blooming.
-
Test your soil: Before you start digging, grab a soil test kit from your local garden center. Hydrangeas prefer slightly acidic to neutral soil (pH 6 to 7). If your soil is too alkaline, adding garden sulfur can help lower the pH.
-
Amend the soil: These plants thrive in rich, well-draining soil. Mix in plenty of organic matter like compost or aged manure to give them a nutrient boost. If your soil is super heavy or clay-like, add some sand or perlite to improve drainage.
-
Digging the hole: When you’re ready to plant, dig a hole as deep as the root ball but twice as wide. This gives roots room to spread out without having to fight too hard.
-
Planting time: Gently remove the hydrangea from its container and loosen up any tightly wound roots. Place it in the hole so that the top of the root ball is level with or slightly above ground level. Backfill with soil, gently tamping down as you go to remove air pockets.
-
Water well: After planting, give your hydrangea a good drink of water. This helps settle the soil around the roots and ensures they have enough moisture to start getting established in their new home.
-
Mulch magic: Apply a 2-3 inch layer of mulch around your plant but not touching the stem or leaves directly. Mulch helps retain moisture, keeps weeds at bay, and adds a tidy look to your garden bed.
-
Regular care: Keep an eye on your new hydrangea during its first growing season especially during dry spells; make sure it gets enough water (about an inch per week). As it grows, adjust your care routine based on how it’s doing.
Common Mistakes to Avoid When Choosing Soil for Hydrangeas
Choosing the right soil for hydrangeas is like picking the perfect home for them to grow, bloom, and show off their beautiful colors. But, just like in real life, a wrong choice can lead to all sorts of troubles. Let’s talk about some common slip-ups people make so you can steer clear and keep your hydrangeas happy.
-
Ignoring soil pH levels: Hydrangeas are famous for their color-changing magic trick, which depends on the soil’s pH level. Forgetting to check or adjust the pH can mean missing out on those vibrant blues or pinks. Aim for acidic soil (pH below 7) for blue flowers and alkaline soil (pH above 7) for pink ones.
-
Overlooking drainage: Hydrangeas love water but hate wet feet! Planting them in soil that doesn’t drain well is like making them wear wet socks all day – uncomfortable and unhealthy. Ensure your soil is loose and rich in organic matter to keep water flowing through.
-
Using poor quality compost: Compost can be a garden’s best friend by adding essential nutrients back into the soil. However, using low-quality compost might introduce diseases or pests into your garden. Always go for high-quality, well-decomposed compost to give your hydrangeas a nutrient boost without the bad stuff.
-
Forgetting about mulch: Mulch isn’t just a pretty finishing touch; it helps maintain moisture levels and keeps roots cool. Skipping mulch means more frequent watering and potential stress during hot days. A layer of organic mulch around your hydrangeas will do wonders.
-
Neglecting ongoing soil care: Soil isn’t something you can just set and forget. Ignoring ongoing care like fertilization or periodic pH adjustments can lead to lackluster blooms or even sickly plants. Keep an eye on your hydrangea’s needs and adjust your soil care routine accordingly.
Avoiding these mistakes will help ensure that your hydrangeas have the perfect place to thrive and bring beauty to your garden season after season.
To Wrap Up
So, we’ve learned that the best Soil for Hydrangeas is rich, well-draining and slightly acidic. This type of soil helps hydrangeas grow big, beautiful blooms.
Don’t forget to test your soil’s pH level before planting. If it’s not in the sweet spot (between 5 and 6), you can adjust it with garden lime or sulfur.
Now go out there and make your hydrangeas happy! They’ll thank you with stunning flowers all summer long.

FAQs about ‘What Soil is Best for Hydrangeas?’.
Can hydrangeas grow in sandy soil?
Hydrangeas can indeed grow in sandy soil, but they may require extra care and attention. Sandy soil drains quickly, which can lead to the plant becoming dehydrated. Regular watering and the addition of organic matter can help improve the soil’s water retention capabilities.
What happens if I plant my hydrangea in the wrong type of soil?
If a hydrangea is planted in unsuitable soil, it may not bloom as vibrantly or as frequently. It could also be more susceptible to diseases and pests. However, most issues can be corrected by adjusting the pH level or adding organic matter to improve drainage.
How often should I test my soil’s pH level when growing hydrangeas?
It’s generally recommended to test your soil’s pH level once a year. However, if you notice your hydrangea’s colors changing unexpectedly or other signs of poor health, it might be worth testing more frequently.
Is there a specific brand of commercial potting mix that works best for hydrangeas?
There isn’t a one-size-fits-all answer because different brands have varying nutrient compositions. Look for a potting mix with good drainage properties and adjust its pH level if necessary. Some gardeners prefer mixes with added compost or peat moss for their hydrangeas.
Can I use coffee grounds to change my soil’s pH level for hydrangeas?
Yes, coffee grounds can lower the pH level of your soil making it more acidic which is ideal for certain types of hydrangeas. However, use them sparingly as too much can harm your plants due to their high nitrogen content.