Did you know that over 250 million lavender plants are sold in the U.S. annually? That’s a lot of lavender! And it’s no wonder, given its beauty and versatility. But what if I told you there’s an easy way to cultivate your own lavender garden without breaking the bank?
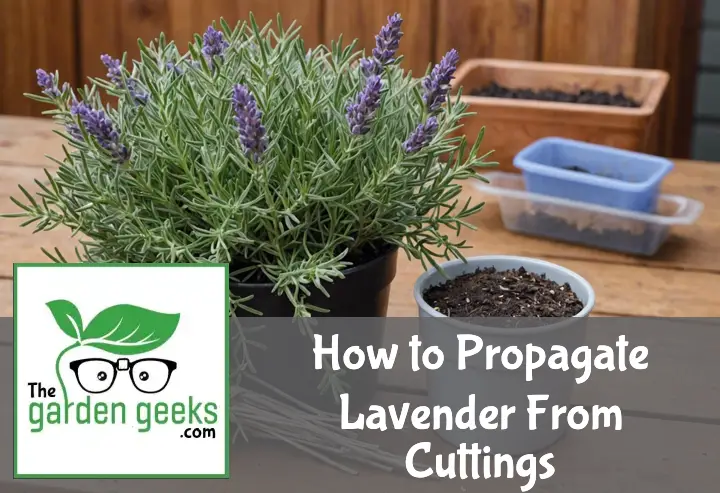
Welcome to our guide on How to Propagate Lavender From Cuttings. This method is not only cost-effective but also surprisingly simple, even for beginner gardeners.
So strap in, and get ready to transform your garden with the mesmerizing hues and intoxicating fragrance of lavender. Keep reading about How to Propagate Lavender From Cuttings!
Quick Answer
- Propagate lavender from cuttings, not seeds, for best results.
- Choose the right time to take cuttings. Late summer is ideal.
- Select healthy stems for your cuttings. They should be firm and green.
- Prepare your tools properly. You’ll need a sharp knife or pruners, rooting hormone, and a pot with drainage holes.
- Follow the step-by-step guide on how to take and plant your cuttings.
- Provide proper care to your new lavender plants, including initial watering and long-term maintenance.
- Be aware of common challenges in propagating lavender and know how to solve them.

Why Propagate Lavender from Cuttings?
Lavender propagation from cuttings is a game-changer. It’s like hitting the fast-forward button on growing your lavender garden, and who wouldn’t want that? Plus, it’s a battle between seed vs cutting propagation, and cuttings are winning. They grow faster and care for your patience by sprouting quicker.
Benefits of Propagation from Cuttings
When you choose to propagate lavender from cuttings, you’re signing up for a bunch of cool perks. First off, fast growth is a biggie. You don’t have to wait ages to see your plants bloom. It’s like they’re on a sprint!
Then there’s the fact that these new plants are basically twins with their parent plant. We’re talking identical plants here, which means all those traits you loved in the original plant? You get them again, no surprises.
Another awesome point is how cost-effective gardening becomes when you use cuttings. No need to break the bank buying seeds or new plants. Just snip, plant, and watch your garden flourish without spending extra cash.
Lastly, let’s talk success rates. With cuttings, successful lavender propagation isn’t just possible; it’s probable. Seeds can be hit or miss, but cuttings? They’re like the golden ticket to expanding your lavender empire with less fuss.
Comparing Seed vs. Cutting Propagation
Diving into the world of seed propagation vs cutting propagation, each has its stage under the spotlight. Seeds are all about potential – they could grow into anything! But it’s like rolling dice; sometimes you win big, other times not so much.
Cuttings take out the guesswork since they promise a carbon copy of their parent plant. This means if you adore your current lavender bush for its scent or resilience, identical plants are guaranteed through cutting propagation.
However, seeds have their charm too. They’re usually cheaper and offer a wider variety of options since not all plants can be propagated from cuttings effectively.
But when we talk about lavender specifically? Cutting propagation takes home the trophy for being more reliable and offering quicker gratification with fast growth rates.
In summary, while seeds give you endless possibilities and that thrilling sense of gamble,effective gardening techniques often lean towards cuttings for reliability and efficiency in growing lavender specifically.
Choosing the Right Time and Type of Lavender for Cuttings
Picking the perfect moment and type of lavender is crucial for lavender propagation success.
Best Season for Taking Lavender Cuttings
The best season for lavender cuttings really matters. Spring or early summer is your golden ticket. This time, plants are growing fast, making them perfect for starting new ones. Why? Well, the weather is like a cozy blanket for them. Not too hot, not too cold. Just right.
In spring, your lavender is waking up from its winter nap, full of energy. This makes the cuttings more likely to root well and grow strong. Think of it as giving them a head start in life.
But here’s where climate comes into play. If you live somewhere with mild winters, you might get away with taking cuttings in fall too. The key is ensuring they don’t freeze or fry – lavender’s not a fan of extreme weather.
So, remember this: timing isn’t just about months; it’s about watching your local weather patterns too. A seasonal guide to propagating lavender can be handy but adapt it to what’s happening outside your window.
Selecting the Healthiest Stems for Cuttings
Now, let’s talk stems. Not all stems are created equal when it comes to lavender propagation. You want the Goldilocks of stems: not too old, not too young, just right.
Look for stems that are green and flexible but have started to harden at the base. These guys have the perfect balance of growth potential and strength to survive being cut and replanted.
Avoid woody old stems; they’re tough and less likely to root well. And steer clear of super soft, new growth – it’s too delicate and might not make it through the rooting process.
Another pro tip? Check for signs of health beyond the stem itself. Healthy leaves, no pests hanging around, and a sturdy stance are all good signs you’ve picked a winner.
Remember, choosing the right stem is like picking teammates in dodgeball – you want the strongest players to give you the best shot at winning (or in this case, growing beautiful new lavender plants).
Preparing to Take Lavender Cuttings
Getting ready to take lavender cuttings is like prepping for a tiny garden adventure. You’ll need the right gear and a bit of know-how before you dive in.
Tools and Materials Needed
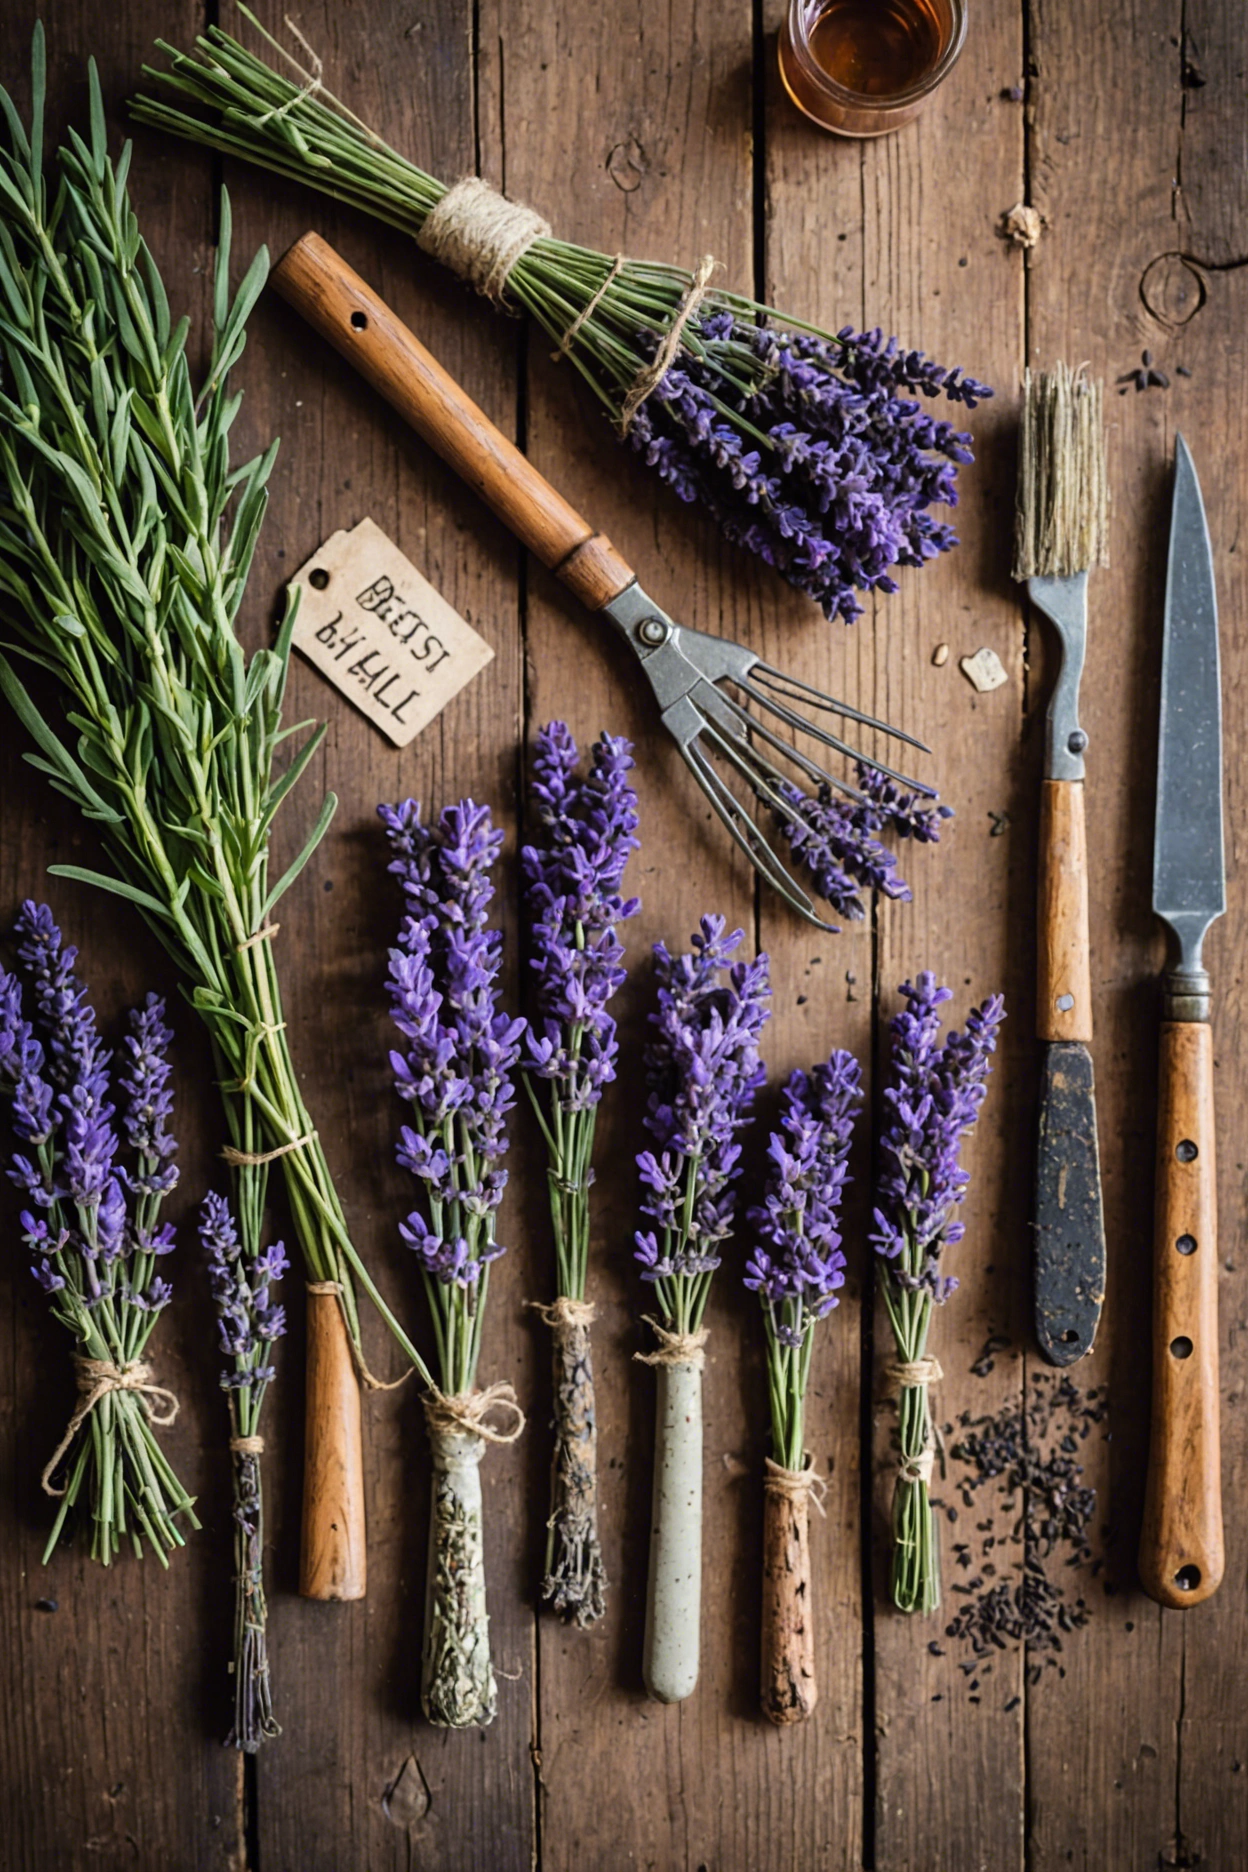
To start your lavender propagation journey, you’ll need some specific tools and materials. First up, grab some propagation shears. These are super important because they help you make clean cuts without damaging the plant. Next, you’ll want to get your hands on some rooting hormone powder. This stuff is like magic dust that encourages your cuttings to grow roots faster.
You also need the right kind of dirt, so pick up some potting mix for lavender. Lavender loves well-draining soil, so mixing in some perlite for drainage is a smart move. Finally, don’t forget about homes for your future plants – small pots for cuttings will do the trick.
Each of these items plays a crucial role in making sure your lavender cuttings thrive. So, gather them all before you start snipping away at your lavender plant.
How to Prepare Your Tools for Cutting
Before you start cutting, it’s super important to clean and sterilize your gardening tools. Dirty tools can spread diseases to your plants, which is a total bummer. Here’s how to do it:
First off, grab those pruning shears and give them a good scrub with soapy water. This gets rid of any dirt clinging onto them. After they’re clean, it’s time to sterilize. You can wipe down the blades with rubbing alcohol or dip them in a bleach solution (one part bleach to nine parts water works great). Let them dry completely before using.
This might seem like extra work, but trust me, it’s worth it. Clean tools mean healthy plants! So take the time to prep properly and protect those precious lavender cuttings from any nasty germs lurking around.
Step by Step: How to Propagate Lavender From Cuttings
Getting new lavender plants from cuttings is like making magic with plants. It’s a simple, cost-effective way to grow your garden. Let’s break down the steps so even if you’ve never done it before, you’ll feel like a pro.
-
Choose the right time: Early morning is the best time to take cuttings because the plant is fully hydrated. This gives your cuttings the best chance of success.
-
Select healthy stems: Look for non-flowering stems on your lavender plant that look strong and healthy. Flowering stems can also work, but they might not root as easily.
-
Cut properly: With a sharp, clean pair of scissors or pruning shears, cut about 4 inches from the tip of the stem. Make sure your cutting has at least two sets of leaves at the top.
-
Prepare your cuttings: Remove the leaves from the bottom half of each cutting to expose the nodes (where leaves were attached). This is where roots will grow from.
-
Dip in rooting hormone (optional): Though not strictly necessary, dipping the bare end of your cutting into rooting hormone can encourage faster and more reliable root growth.
-
Plant your cuttings: Fill small pots with a well-draining potting mix or make your own by mixing equal parts peat moss and perlite or sand. Make a hole in the center with a pencil or stick, then place one cutting in each pot without letting the leaves touch the soil.
-
Water gently but thoroughly: After planting, give each cutting a good drink of water until it’s moist but not soggy. Overwatering can cause rot, so be careful not to let them sit in water.
-
Create humidity: Cover each pot with a clear plastic bag or place them inside a plastic container with a lid to create a mini greenhouse effect. This helps keep humidity high which cuttings love.
-
Place in indirect light: Find a spot that gets plenty of indirect sunlight; direct sun can be too intense for new cuttings and might dry them out too quickly.
-
Wait and watch: Keep an eye on your cuttings, making sure the soil stays damp but not wet and adjusting their location if they seem unhappy (yellowing leaves are a sign). In about 2-4 weeks, you should see signs of new growth indicating that roots have formed.
-
Transplant when ready: Once your lavender cuttings have established roots and show strong new growth, it’s time to move them into larger pots or directly into your garden if weather permits.
Caring for Your New Lavender Plants
Taking care of your new lavender plants is crucial. From the moment they start as cuttings, until they’re fully grown, every step matters.
Initial Care Post-Cutting
After you’ve planted your new lavender cuttings, the first few weeks are super important. You gotta make sure they get just the right amount of water. Not too much or you’ll drown them, and not too little or they’ll dry out. It’s like Goldilocks, but for plants.
Next up, sunlight. These little guys love the sun, but not too much at first. Think of it like easing into a hot bath. A spot that gets gentle morning sunlight but isn’t too harsh in the afternoon is perfect.
Temperature control is another biggie. Lavender doesn’t want to be too hot or too cold. Keeping them in a spot that’s just right – not next to a heater or an air conditioner – will help them grow strong.
Long-Term Care Tips for Rooted Cuttings
Once your cuttings have rooted and started to grow, it’s time to think about long-term care. Pruning is your friend here. It sounds scary, but cutting back your lavender helps it grow bushy and full. Just don’t go overboard; think of it as giving your plant a nice haircut.
Fertilizing is next on the list. Lavender isn’t super picky, but a little food can help it thrive. Use something gentle and organic if you can; think of it as health food for plants.
Lastly, keep an eye out for pesky bugs that might want a piece of your lavender. A little pest control goes a long way in keeping your plants happy and healthy without using harsh chemicals.
Common Challenges in Propagating Lavender and Solutions
When you’re trying to grow new lavender plants from cuttings, it might feel like you’re trying to solve a puzzle with missing pieces. But don’t worry! Here’s a list of common problems people run into and how to fix them, so your lavender can thrive.
-
Root rot: This sneaky problem happens when your cutting’s roots sit in too much water. It’s like when your feet get all pruney in the bath, but for plants, it’s way worse. The solution? Make sure your soil is well-draining. Think of it as making a comfy bed for your cuttings that isn’t too soggy.
-
Cuttings not taking root: Sometimes, you do everything right, but the cuttings just sit there, doing nothing. It’s frustrating! To help them along, dip the end of your cuttings in rooting hormone before planting. It’s like giving them a little pep talk to encourage them to grow roots.
-
Mold or fungus on the cutting: If you see fuzzy stuff growing on your cuttings, that’s bad news bears. It means there’s too much moisture around. To avoid this creepy-crawly situation, cover your cuttings with a plastic bag but make sure there’s some air flow. Think of it as putting up an umbrella but leaving windows open for fresh air.
-
Slow growth: Patience is key with lavender because they take their sweet time growing. But if it feels like watching paint dry, try placing them in a spot with more sunlight. Lavender loves sunbathing more than we do at the beach!
-
Leaves turning yellow or dropping off: This could be a sign that your plant is either too thirsty or drowning in water—it’s confusing! The trick is to find the Goldilocks zone of watering: not too much and not too little. Stick your finger into the soil; if it feels dry a couple of inches down, it’s time for a drink.
Remember, propagating lavender is part art, part science, and totally worth the effort once you get those fragrant purple blooms as a reward!
To Wrap Up
We’ve walked you through the best method on How to Propagate Lavender From Cuttings. It’s not rocket science, but it does require patience and care.
Remember, timing is key. Late spring or early summer is the ideal time to start this project. Use sharp, clean tools to avoid harming your lavender plant and don’t forget about the magic of rooting hormone!
Finally, keep your cuttings in a warm, well-lit place and wait for nature to do its thing. Before you know it, you’ll have new lavender plants flourishing! So why wait? Start propagating today!

FAQs about ‘How to Propagate Lavender From Cuttings (Best Method That Actually Works)’.
What is propagation?
Propagation is a method of creating new plants from existing ones. In this case, we’re using cuttings from a lavender plant to grow new lavender plants.
Why choose propagation over buying new plants?
Propagation can be more economical as it allows you to create multiple new plants from a single parent plant. It’s also rewarding and helps maintain genetic consistency among your plants.
Can all types of lavender be propagated from cuttings?
Yes, most varieties of lavender can be propagated from cuttings. However, the success rate may vary depending on the specific variety and conditions.
How long does it take for lavender cuttings to root?
Typically, lavender cuttings will begin to develop roots in 2-4 weeks. However, this may vary depending on factors like temperature, humidity, and the health of the cutting.
What should I do if my cutting isn’t rooting?
If your cutting isn’t rooting after several weeks, it may not have been healthy or the conditions might not be optimal. Try again with a different cutting and consider adjusting your care routine.
How do I know when my propagated lavender is ready for transplanting?
Once your cutting has developed strong roots and starts showing new growth, it’s usually ready for transplanting. This typically takes around 1-2 months.
Can I propagate lavender in water instead of soil?
While some plants are successfully propagated in water, lavender generally prefers soil propagation due to its need for good drainage. Water propagation might lead to root rot in lavenders.
What happens if I take a cutting at the wrong time of year?
Taking a cutting at an inappropriate time may result in slower rooting or failure altogether due to unfavorable growing conditions like temperature and light availability.